Portrait photographer
Choose a well-lit portrait with space around the hair and shoulders.
You can inspect fine edges before placing the portrait on a new background.
remove bg onlineiPhone photo guide
If you are asking how to remove.bg from photos on iPhone, start with a clear picture and decide where the finished image will go. This guide shows a practical remove bg workflow and the checks worth making before you share.

Before you remove bg from an iPhone photo, choose the original image rather than a screenshot or compressed copy. Check that you have permission to edit and share it.
Choose a well-lit portrait with space around the hair and shoulders.
You can inspect fine edges before placing the portrait on a new background.
remove bg onlineUse the original product shot rather than an image downloaded from a listing.
A cleaner source makes it easier to spot stray shadows or clipped product edges.
remove bg onlinePick a photo with a distinct foreground subject and consider the final post crop.
The subject is less likely to be cut off when the composition changes.
remove bg onlineFind a sharp photo where fur does not blend into the surroundings.
You will have a better starting point for checking difficult fuzzy edges.
remove bg onlineTo remove bg without losing track of the original, work from a copy and review the result at full size.

1
Open Photos on your iPhone and locate the original picture. Check whether the person or object is sharp, fully visible, and distinguishable from the surroundings. If it is not, take another shot before attempting to remove bg.
2
For a quick built-in route, press and hold a clearly defined subject in Photos, then use the subject-copy or sharing option your iPhone offers. Alternatively, open an image-editing tool and follow its on-screen upload and removal steps. The available controls depend on the tool, so inspect what it actually supports.
3
Put the extracted subject against a contrasting background to reveal missing hair, leftover scenery, or a bright halo. Check the saved file in the app where you intend to use it; a white preview alone does not prove transparency. If the edge looks wrong, return to the original and try a cleaner photo or an editor with manual refinement.
There is no single best way to remove bg on an iPhone. Choose based on whether you need a quick subject copy or a file you can inspect and reuse.
Photos subject lift
Image-editing tool
Photos subject lift
Open a suitable picture in Photos.
Image-editing tool
Open a tool and choose a picture from your device.
Photos subject lift
Press and hold a recognizable subject.
Image-editing tool
Follow the tool’s background-removal workflow.
Photos subject lift
Quickly copying or sharing a distinct subject.
Image-editing tool
Preparing an image for a specific layout or destination.
Photos subject lift
Inspect the lifted subject after pasting or sharing.
Image-editing tool
Inspect the result and use refinement controls if offered.
Photos subject lift
The result depends on where you paste or share it.
Image-editing tool
Export choices depend on the particular tool.
Photos subject lift
Make sure your iPhone offers subject lift for that photo.
Image-editing tool
Check format, access conditions, and privacy terms before uploading.
Even when a tool can remove bg, the cutout may need attention before it is ready to publish.
Fine strands can disappear when the hair and background have similar color or texture.
WorkaroundTry a sharper photo with better separation, then inspect the edge against a dark and a light background.
Glass, veils, and reflections contain parts of the original background, so an automatic cutout may look unnatural.
WorkaroundUse an editor that offers manual refinement, or photograph the object against a simpler backdrop.
A successful cutout can appear white after it is pasted, shared, or saved through another app.
WorkaroundCheck the destination app’s transparency support and verify the saved result before deleting any working copy.
Background removal cannot restore a hand, ear, or product edge that was never captured.
WorkaroundReturn to the original shoot and choose a photo with the entire subject visible.
After you remove bg from a portrait, inspect the boundary at normal viewing size and while zoomed in. A tiny halo may become obvious when the cutout sits on a darker design.
For an item photographed on an iPhone, check handles, straps, and shadows. A clean-looking preview may still have a missing edge that becomes visible on a listing or graphic.
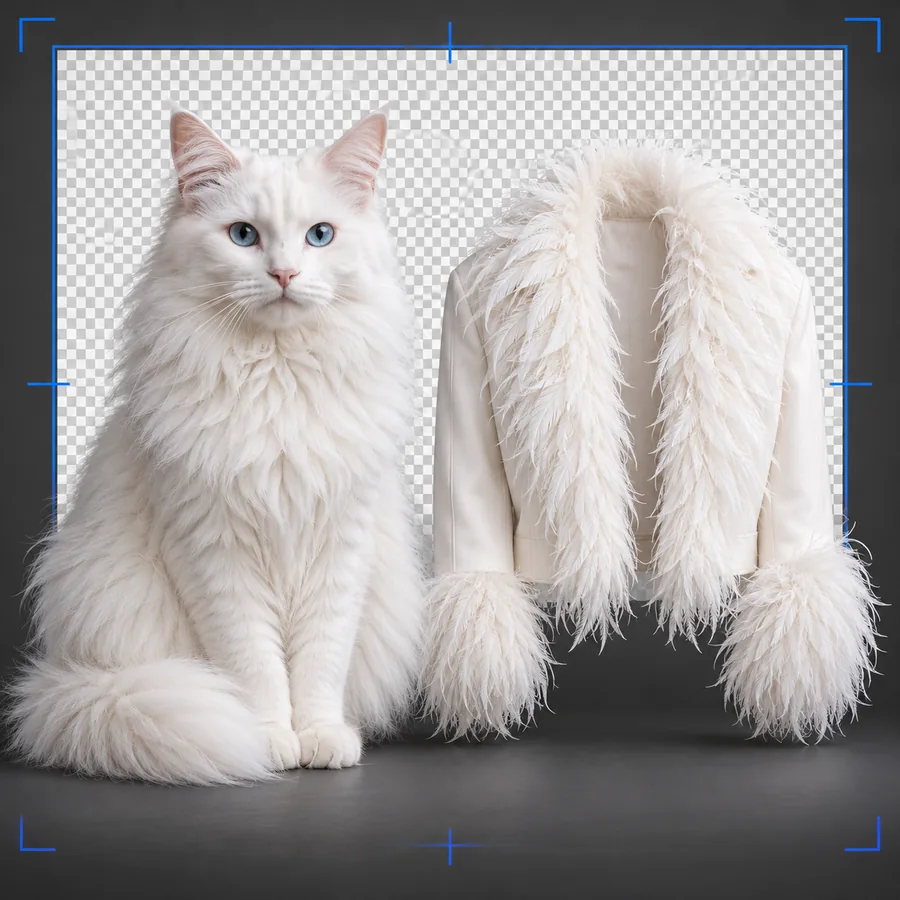
Fur is an especially demanding edge. Preview the extracted pet on both a pale and a dark background before deciding whether the result is usable.
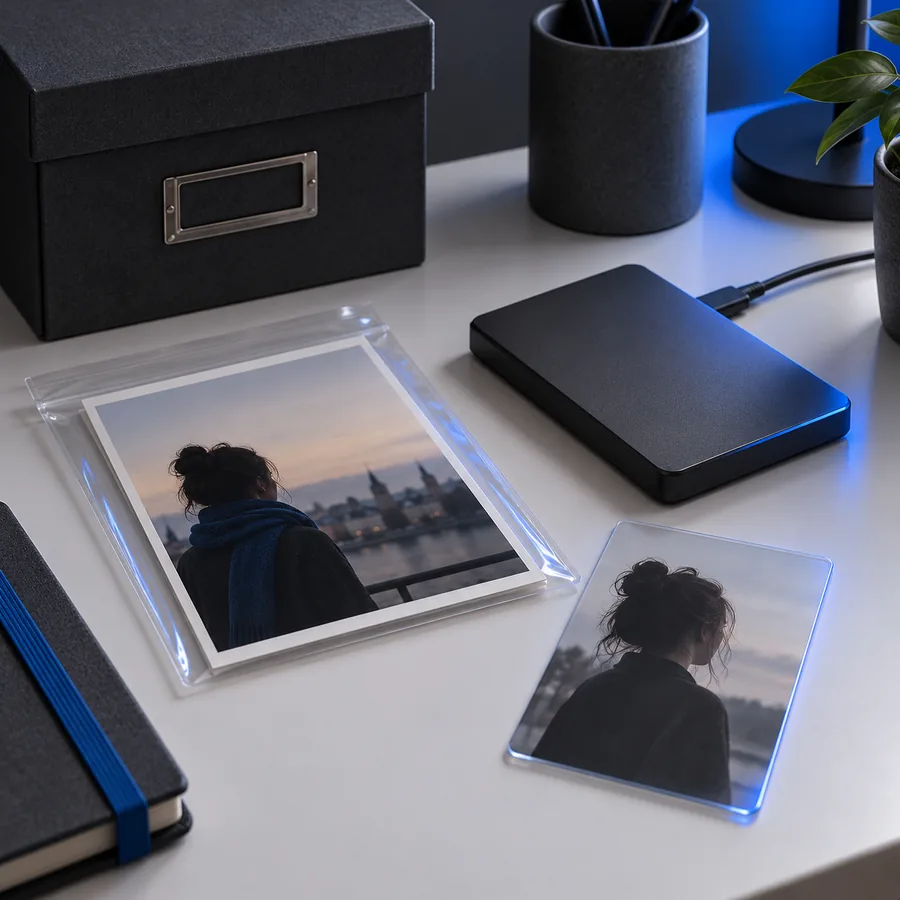
These are separate illustrative images, not a verified edit of the same photo or a promised output.


Take a clear original, choose the editing route that suits your destination, and check the saved image before sharing. Open Remove Bg’s linked tool destination to see which image options are available there.
Explore image toolsOpen a clear photo in Photos and try pressing and holding its main subject to copy or share the lifted subject. You can also use an image-editing tool that offers background removal; follow its upload and editing instructions, then inspect the saved result. If you mean the separate remove.bg service specifically, check its current iPhone workflow and terms on that service rather than assuming it is part of Remove Bg.
Some iPhones offer subject lift in Photos, which lets you copy or share a recognized subject. Availability and behavior depend on your device, software, and the photo, so check the option on your own image.
The app displaying or saving the image may have placed it on white, or the exported file may not preserve transparency. Test the saved image on a colored background in its destination app before assuming the cutout is transparent.
Try a sharper photo with more contrast between the subject and background. If subject lift still does not appear, check your device’s software support or use an editing workflow that lets you refine the selection.