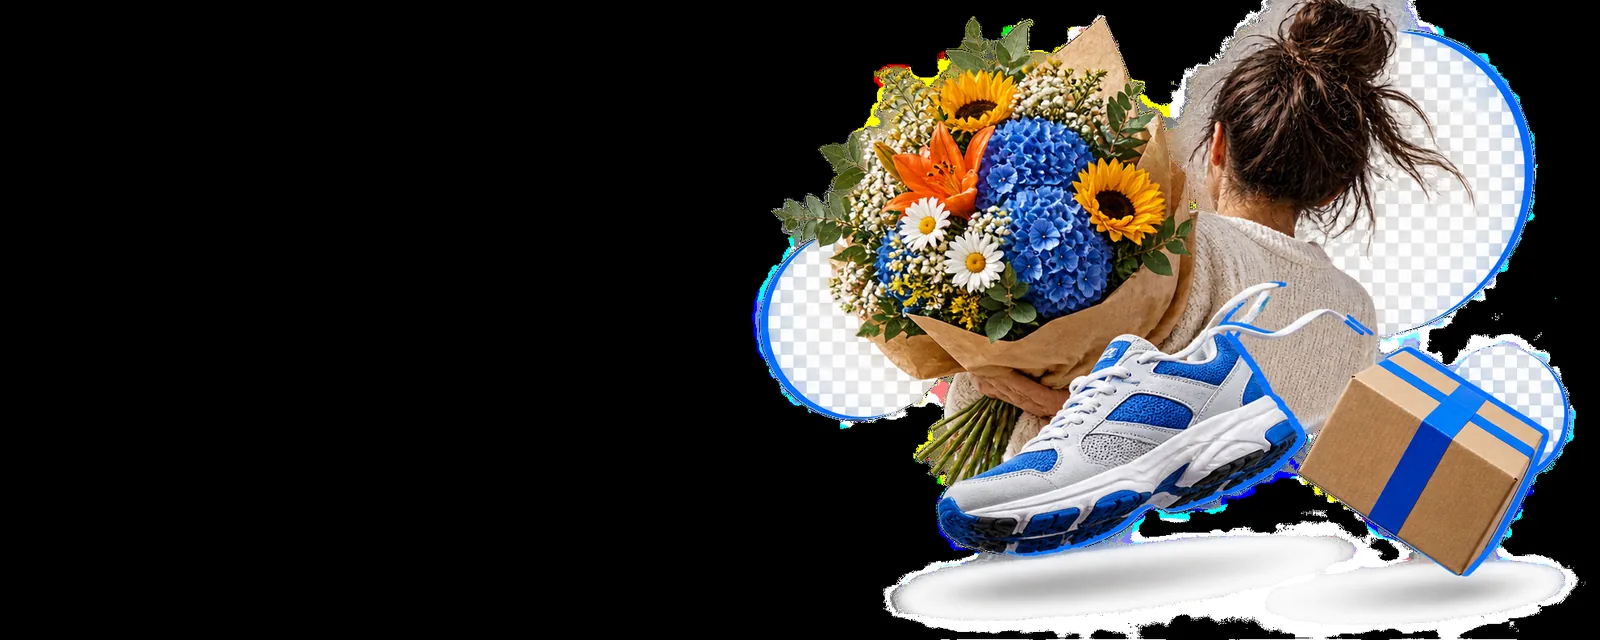
remove bg

Canva tutorial

A workable way to learn how to remove the background of a picture in canva for free

If you searched for how to remove the background of a picture in canva for free, the key distinction is between removing a photo background and merely covering it. Canva’s automatic Background Remover may require a paid plan; you can instead prepare a cutout elsewhere and place it in a Canva design.

Check available tools before uploading
Example image editing scene

Elimination order table

Work through these checks in order. Each one rules out a different reason the original background is still visible.

  1. 1

    Check whether the tool is available

    Select the photo and inspect its editing options. If Background Remover is marked as unavailable for your plan, stop looking for a hidden Free setting and move to a separate cutout workflow.

  2. 2

    Check the image itself

    Place the image over a strongly contrasting color. A rectangular white or gray area means that color is still part of the image; changing the Canva page background will not remove it.

  3. 3

    Check the final destination

    Decide whether you need a subject layered over a Canva design or an exported file with transparency. Those are different outcomes, so test the downloaded file rather than relying on the editor preview.

What to have ready

For the cutout route, gather the original image and a way to verify the result before spending time arranging the design.

Required Optional
  • The original photo at the highest useful resolution you have

    Required

    A small screenshot makes hair and narrow edges harder to preserve.

  • Access to the Canva design where you will place the finished subject

    Required

    You need to be able to upload the prepared image.

  • An image-editing method that can produce a cutout

    Required

    Check that method’s current access terms and export options first.

  • A contrasting color to put behind the image during inspection

    Required

    Dark and light test backgrounds reveal different edge defects.

  • A PNG file with a genuinely transparent background

    Optional

    Useful when the editing method offers it; a PNG file can still contain an opaque background.

These guides cover the file and tool decisions that often come up while preparing a Canva cutout.

Each fix’s steps

Use the row that matches your symptom. A cover-up, an uploaded cutout, and a transparent export solve different problems.

If Background Remover is unavailable

Keep the original photo, then use an image-editing method outside Canva that explicitly lets you save the result you need. Remove the photo background there and inspect the saved file before bringing it into your design. In Canva, upload that file, place it on the page, and set a contrasting page color temporarily. If you see only the subject, you can position, resize, and layer it like another image. If you see a rectangle, revisit the saved file: renaming a photo with a PNG extension does not create transparency. Availability, export formats, and usage limits vary between editing services, so confirm them in the tool you choose rather than assuming every remover supplies a transparent file.

KEY DISTINCTION

The removal happens before the image enters Canva; Canva is where you compose the design.

If a white box surrounds the subject

First determine whether the white is in the image or in the Canva page. Change the page background to a dark color and move the image away from other white objects. If the box moves with the image, its pixels are still opaque. Reopen the source in your chosen editor and remove the background, paying special attention to gaps between arms, product handles, or loose strands of hair. Save a file that retains transparency if that option is available, then upload the new file to Canva. Remove the old copy from your design so you do not accidentally export the wrong version. A cover shape can hide a background on one matching solid color, but it is not a cutout: it will show against a gradient, photograph, or different page color.

QUICK TEST

A real cutout shows the Canva page color through spaces around and inside the subject.

If the editor view and download disagree

Check what you downloaded, not just what appeared on the Canva canvas. When the subject is part of a poster, social graphic, or slide, a regular image download can legitimately contain the chosen page background. If you need the entire Canva design to have a transparent background, inspect the current download options available to your plan; do not assume that importing a transparent PNG makes the whole exported page transparent. For a standalone subject cutout, keep and use the transparent file created before the Canva upload. Open any final file against both a light and dark surface to catch pale halos, missing details, or an unexpected white fill.

EXPORT CHECK

Transparency in an uploaded element and transparency in a downloaded page are separate settings.

How to avoid recurrence

Treat the cutout as a small file workflow. These checkpoints prevent the same white-box problem from returning in the next design.

  1. Choose a clean source

    Start with the original photo rather than a compressed screenshot. Clear contrast between subject and background makes it easier to judge whether fine edges have survived removal.

  2. Inspect both sides of the edge

    View the cutout against a light surface and a dark one. Look for pale outlines, clipped hair, missing holes, and leftover patches of the original backdrop.

  3. Keep versions distinct

    Give the cutout a recognizable filename and retain the original separately. This helps you avoid uploading the untouched photo when several similar files appear in Canva.

  4. Test on the intended background

    Check the subject over the actual color or image you plan to use. A faint fringe that disappears on white may become obvious on a dark or saturated design.

  5. Open the delivered file

    Inspect the exported design in the place it will be used. If you need a transparent standalone image, verify that the delivered file—not merely its Canva preview—has transparency.

Start with the image you need to edit

Prepare a cutout before you build the Canva layout

If Canva’s removal option is not available to you, explore a separate image-editing route, check its current output options, and bring a verified cutout into your design. Keep the original photo so you can retry an edge that does not look right.

Edit my image
  • Check the available export options
  • Inspect edges on contrasting backgrounds
  • Test the final file after download

Tutorial FAQ

You can prepare the cutout with a separate image-editing method, then upload the resulting file into your Canva design. Check that the saved file actually has transparency before uploading it, because a white-filled PNG will still display as a rectangle.

A shape can conceal an unwanted area when the page behind it is one matching solid color. It does not remove pixels from the photo, so the cover-up may become visible if you change the page color, add a photograph behind it, or move the image.

PNG is a file format, not a guarantee of transparency. Test the file over a dark Canva page; if the white box moves with the image, return to the cutout step and save an output that preserves transparency.

No. A transparent uploaded element can sit on an opaque Canva page, and the downloaded design may include that page background. If the entire exported design must be transparent, check the download options currently available to your Canva plan.

Inspect the subject over both light and dark backgrounds, especially around hair, hands, and gaps inside the outline. Then open the downloaded file outside Canva to confirm it looks right in its final destination.

Start creating
Start creating